Know Your Map Types
First things first maps aren’t one size fits all. Paper maps and digital maps both have their place, but each comes with trade offs. Paper maps don’t need batteries, never lose signal, and give you the big picture at a glance. But they can be bulky, tear in bad weather, and require you to actually know how to read them. Digital maps are fast, zoomable, and often update in real time. On the flip side, they rely on a device, data, and sometimes a good Wi Fi connection you won’t have in the mountains or deep countryside.
Choosing the right kind of map matters too. Topographic maps are your go to for hiking or anything off road they show elevation, terrain, and natural features in detail. Road maps are better for long distance travel by car; they cover highways, exits, and major towns. City maps zoom into urban streets, transit lines, and local landmarks perfect for navigating crowded metro areas.
One last thing: not all maps are meant to guide you. Tourist maps, for example, often focus on attractions and aesthetics not accuracy. Always ask what the map was designed for before you trust it with your route.
For a wider breakdown of map types and where they shine, take a look at this travel guide resource.
Learn the Basics of Map Reading
Maps aren’t magic they’re more like cheat sheets for the real world. But to use them well, you need to understand the language.
Start with the legend (also known as the key). It tells you what all the symbols on the map mean little tents for campsites, dashed lines for trails, blue lines for rivers. The map scale shows how distance on the map converts to the real world. For example, 1 inch could equal 1 mile. This helps you estimate walking or driving times, so you’re not surprised by that “short” ten mile hike.
Symbols vary from map to map, but most follow common patterns. Roads, mountains, lakes, and landmarks have their own marks. Learn them once, and you’ll read almost any map with confidence.
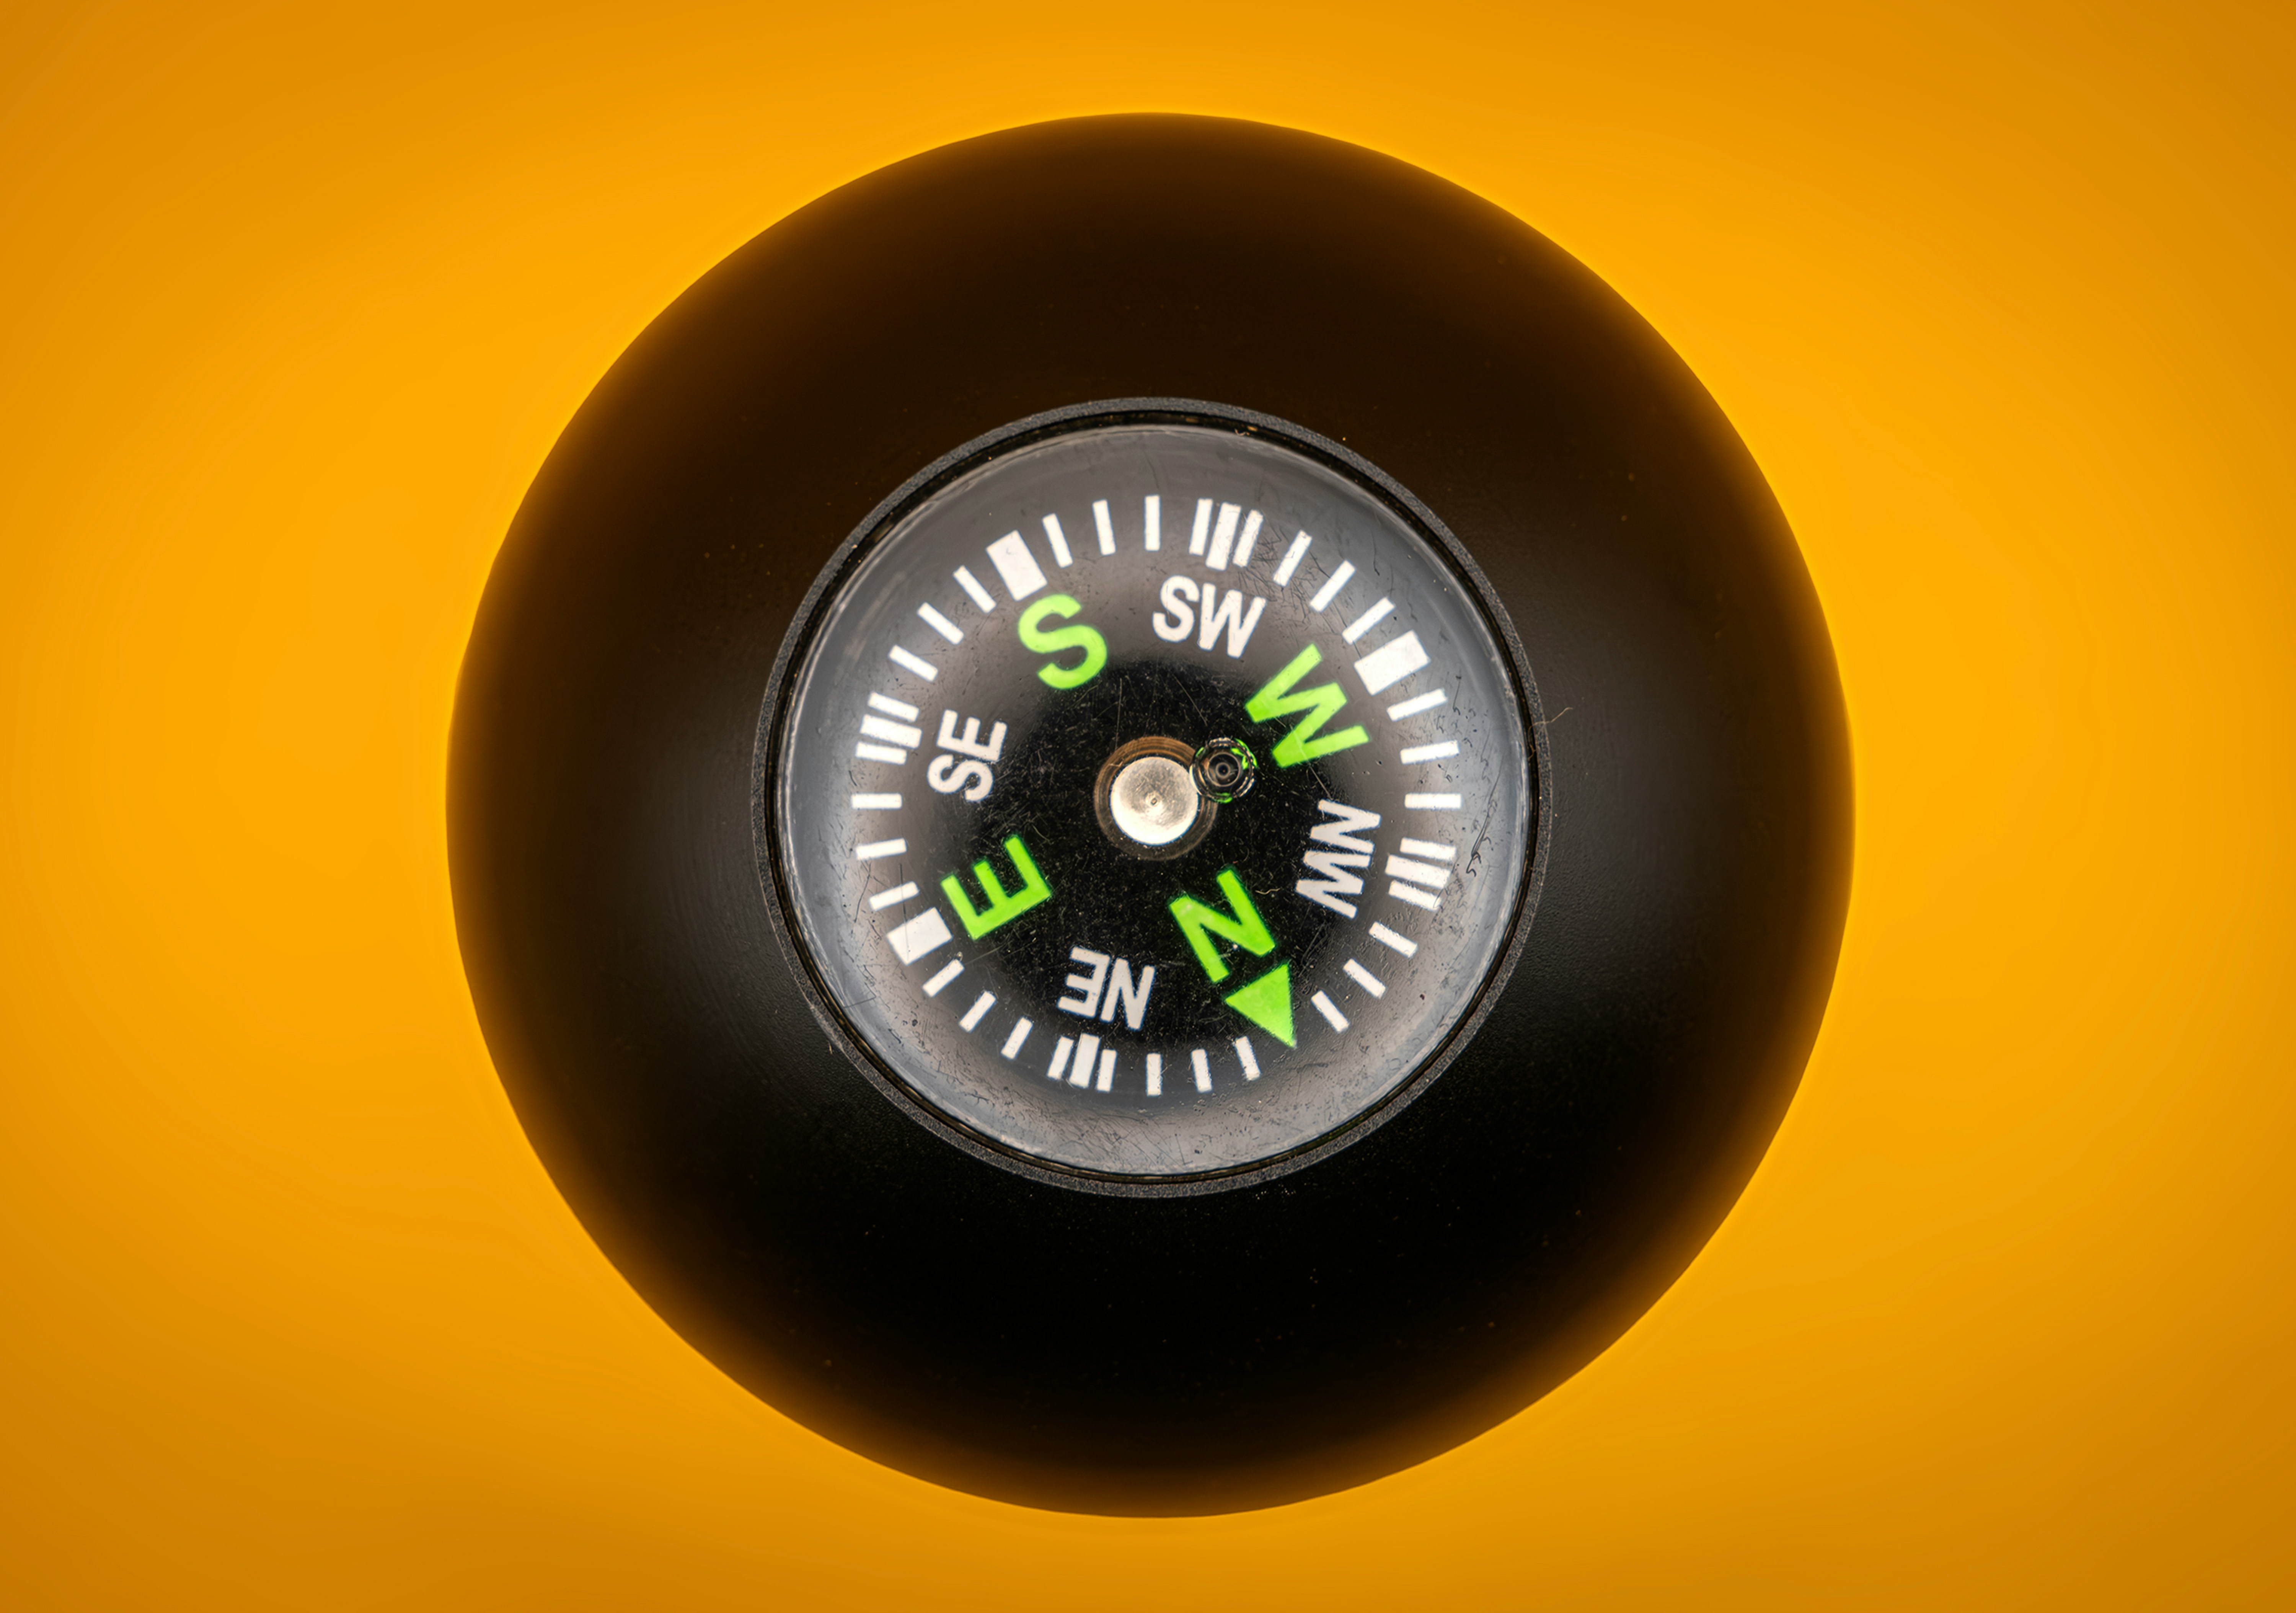
Cardinal directions north, south, east, west keep you oriented. Most maps are drawn with north pointing up. Pair that with a compass, or even the sun, and you’ve got movement figured out. Then there are contour lines, which show elevation. Lines close together mean steep terrain. Spaced out lines? Gentler slopes. Mastering contour lines makes a huge difference when hiking or choosing a route.
A simple way to reinforce what you’ve learned: print or grab a basic neighborhood map and try navigating around your local area. Identify key symbols, figure out which way is north, and estimate distances between familiar spots. It’s surprisingly effective and kind of fun.
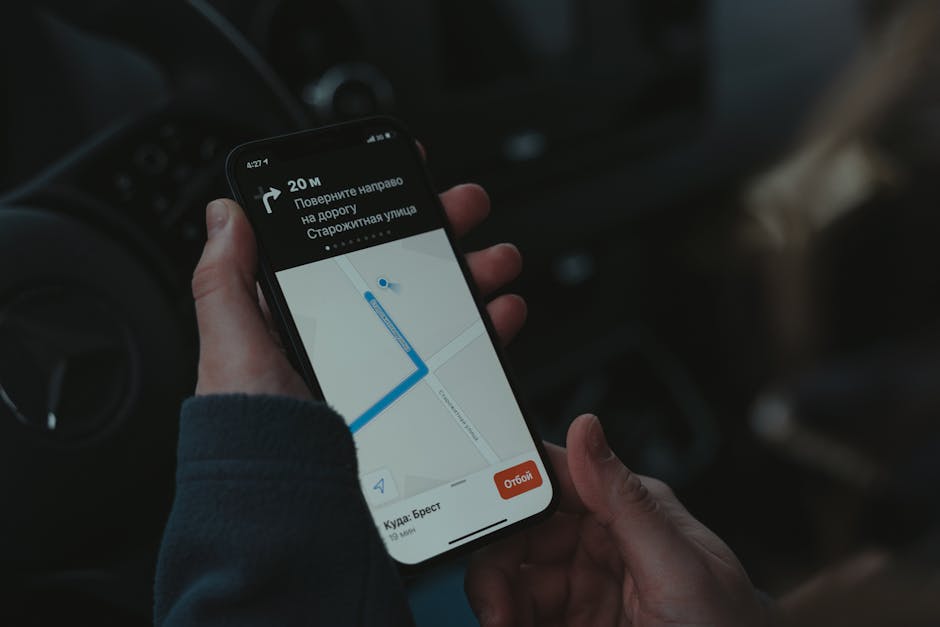
Don’t Rely Solely on GPS
When your phone drops signal in the middle of nowhere or your map app crashes mid route, you’re stuck unless you’ve prepped for it. Rule number one: always carry a physical backup map. It doesn’t need batteries, and it won’t freeze up in the rain. That old school sheet of paper might be the difference between a short delay and a full on disaster.
Start with maps that cover your whole area, not just the path you expect to take. If signal fades, you’ll want the flexibility to reroute without flying blind. Before your trip, mark key landmarks and trace your route by hand yes, with a real pen. Familiarity builds confidence.
Offline navigation isn’t magic it takes a bit of practice. Use your map to navigate your local park or commute. Get used to correlating terrain with symbols. Learn to keep your bearings without the phone telling you where to turn. Confidence comes when you know you’re not completely reliant on a blinking blue dot.
Travel smart: digital when it works, analog when it counts.
Understand Distance and Direction
Figuring out how far and how long you’ll be walking or driving starts with grasping map scale. Most maps will show a bar labeled something like “1 inch = 1 mile.” Pay attention to it. That’s your tool for estimating travel time. For walking, assume 3 to 4 miles per hour on flat ground. Driving depends on terrain and road type highways are faster than winding backroads. Use a ruler or even your fingers to measure distances roughly. Multiply, and you’ll know whether you’re looking at a quick hike or an all day haul.
Compass directions sound easy until you’re actually out there with trees, hills, and distractions. North isn’t always where you think. Use landmarks to orient yourself with the map. Hold the map flat, align it with the terrain, and remember: north is almost always at the top unless the map says otherwise.
People trip up most with orientation. Turning a map around to match the road in front of you helps sometimes, but it can mess with your sense of direction. The trick is to rotate your mind, not your map. Know where you came from and where you’re heading next. Double check that your compass or phone isn’t being thrown off by magnets or metal. When in doubt, stop, breathe, and backtrack to your last known point. Getting un lost is part of getting good.
Prep Your Route in Advance
Before you even step outside, take five minutes to really look at your map yes, both the paper one and the app version. Mark your starting point, your destination, and any key landmarks or crossroads in between. Think gas stations, big intersections, or a giant chicken statue whatever helps anchor your sense of direction.
Grab a highlighter or some push pins if you have a physical map. Mark up the route. The clearer your visual path, the easier it’ll be once you’re in motion. For digital maps, drop custom pins or save spots in advance, especially if Wi Fi or cell service could become sketchy.
This isn’t just about being prepared it’s damage control. If GPS fails or your phone dies, you want a fallback you actually understand. Cross referencing printed maps with mobile apps can flag mismatches, outdated info, or even better routes you hadn’t considered. In short: a few minutes of prep can save hours of confusion.
Use Landmarks as Checkpoints
When you’re in an unfamiliar place, your map isn’t your only guide your surroundings are, too. Big, unmoving features like rivers, bridges, or monuments make excellent anchors. If you orient your movement around visible landmarks, it’s easier to stay on track and quicker to recover if you lose your place.
Say you veer off course while navigating a winding old town. A glance at the distant clock tower or riverbank can instantly reorient you. These features give your journey a real world framework that flat maps can’t always provide.
Use landmarks to double check your position often. When in doubt, ask yourself: can I still see that bridge? That statue? That tall hotel with the blue sign? If yes, you’re not that far off. If no use that as your cue to pause, recalibrate, and maybe zoom back out on the map. Especially in cities that twist and sprawl, tracking landmarks isn’t just helpful it can be the thing that gets you home.
Practice Map Folding (Seriously)
If you’ve ever fumbled with a giant, flapping map in the wind, you know why this matters. The fast fold isn’t complicated it’s just a tighter, more practical way to keep your map compact but ready. Instead of stuffing it randomly into your pack, fold it so the section you need is on top. You get fast access without unfolding every creased corner.
This kind of folding also preserves your map. Less wear means less tearing. If you’re referencing it a lot, the material gets fragile. A smart fold system reduces stress on those seams. It’s basically a way to make your paper tools as nimble as your digital ones.
Practice it a few times before your trip. It’s one of those tiny skills that earns its keep fast especially when you’re trying to get your bearings with one hand and hold your pack with the other.
Be Wary of Outdated Maps
Maps aren’t timeless. Roads get rerouted. Train stations change names. What looked perfectly clear last year might now send you into a dead end or a construction zone. That’s why checking the release year on any map especially road or transit maps is non negotiable.
Before any trip, update your sources. Don’t trust a decade old printout or a cached download. Transit systems evolve fast, and even city layouts can shift enough to cause a serious headache if you’re relying on stale info. Especially in growing metro areas or countries investing heavily in infrastructure, things move quickly.
The good news? Staying current is easy if you know where to look. This travel guide resource keeps up to date recommendations so you’re not navigating blindly. A few minutes of prep can save hours of backtracking or worse, missing a connection. Travel smart. Start fresh.
Mark Your “You Are Here” Spot Frequently
There’s no glory in being lost longer than you need to be. Marking your current location as you go on paper or screen keeps your progress visible and your next steps clear. This habit turns your map into a live record, not just a reference tool.
When fatigue sets in or your instincts get shaky, a quick glance at your last marked point helps reorient fast. You don’t waste time guessing or backtracking needlessly. This is even more powerful when paired with a timestamp. Knowing where you were and when adds context that helps you catch mistakes early and plan smarter going forward.
Simple, quick marks. Big difference.
Stay Calm, Adjust, Reroute
Getting lost isn’t the end of the world. In fact, it usually means you’re doing something new and that’s the whole point of travel. Panic won’t help, but pattern recognition will. Pause. Breathe. Then think: what did you last pass? A bridge? A neon sign? A twisty road up a hill? Those are your landmarks. Work backward from them.
Direction matters, but stubbornness doesn’t. If you’re off course, retrace using the most obvious things around you landmarks, compass direction, natural boundaries. Every wrong turn is a skill building rep in your toolbox. The more you do it, the better you get at fixing it. And that’s the real trick: not perfect navigation, but knowing how to recover fast, without stress.
 Jesseviell Truong writes the kind of travel guides and tips content that people actually send to each other. Not because it's flashy or controversial, but because it's the sort of thing where you read it and immediately think of three people who need to see it. Jesseviell has a talent for identifying the questions that a lot of people have but haven't quite figured out how to articulate yet — and then answering them properly.
They covers a lot of ground: Travel Guides and Tips, Adventure Travel Ideas, Destination Highlights, and plenty of adjacent territory that doesn't always get treated with the same seriousness. The consistency across all of it is a certain kind of respect for the reader. Jesseviell doesn't assume people are stupid, and they doesn't assume they know everything either. They writes for someone who is genuinely trying to figure something out — because that's usually who's actually reading. That assumption shapes everything from how they structures an explanation to how much background they includes before getting to the point.
Beyond the practical stuff, there's something in Jesseviell's writing that reflects a real investment in the subject — not performed enthusiasm, but the kind of sustained interest that produces insight over time. They has been paying attention to travel guides and tips long enough that they notices things a more casual observer would miss. That depth shows up in the work in ways that are hard to fake.
Jesseviell Truong writes the kind of travel guides and tips content that people actually send to each other. Not because it's flashy or controversial, but because it's the sort of thing where you read it and immediately think of three people who need to see it. Jesseviell has a talent for identifying the questions that a lot of people have but haven't quite figured out how to articulate yet — and then answering them properly.
They covers a lot of ground: Travel Guides and Tips, Adventure Travel Ideas, Destination Highlights, and plenty of adjacent territory that doesn't always get treated with the same seriousness. The consistency across all of it is a certain kind of respect for the reader. Jesseviell doesn't assume people are stupid, and they doesn't assume they know everything either. They writes for someone who is genuinely trying to figure something out — because that's usually who's actually reading. That assumption shapes everything from how they structures an explanation to how much background they includes before getting to the point.
Beyond the practical stuff, there's something in Jesseviell's writing that reflects a real investment in the subject — not performed enthusiasm, but the kind of sustained interest that produces insight over time. They has been paying attention to travel guides and tips long enough that they notices things a more casual observer would miss. That depth shows up in the work in ways that are hard to fake.