I’ve spent years watching people stare at their phones while completely missing what’s right in front of them.
You’re probably here because you’re tired of blindly following a blue dot. You want to actually understand where you’re going and what you’re passing along the way.
Here’s the thing: navigation isn’t just about getting from point A to point B. It’s about knowing your surroundings and spotting the places that make a trip worth remembering.
I created this LookWhatMomFound map guide to change how you move through the world. Whether you’re exploring a new city or hiking a remote trail, you’ll learn to navigate with confidence.
This isn’t another GPS tutorial. It’s a practical guide that combines digital tools with old school map reading skills.
We’ve helped thousands of travelers turn ordinary trips into real adventures. The strategies in this guide come from actual experience, not theory.
You’ll learn how to read landscapes, find hidden spots that don’t show up on apps, and move through unfamiliar places like you’ve been there before.
No fluff about the journey or finding yourself. Just practical navigation techniques that work.
The Modern Explorer’s Toolkit: Blending Digital and Physical Maps
Everyone tells you to ditch paper maps.
They’re outdated. They’re bulky. Why carry extra weight when your phone does everything?
Here’s my contrarian take: that advice will get you lost.
I’ve watched too many travelers stand in the middle of nowhere with a dead phone and zero backup plan. (Usually right when they need directions most.)
The truth is simpler than people want to admit.
Digital maps are incredible for some things. Google Maps gets you door to door without thinking. AllTrails shows you trail conditions from hikers who were there yesterday. Citymapper tells you exactly when your bus arrives.
They’re perfect for the small stuff. Turn by turn directions. Finding that coffee shop three blocks away. Checking if a restaurant is open.
But they fail at the big picture.
Pull up Google Maps and try to understand how a whole region connects. You can’t see it. You’re zoomed in on one street while the context disappears around you.
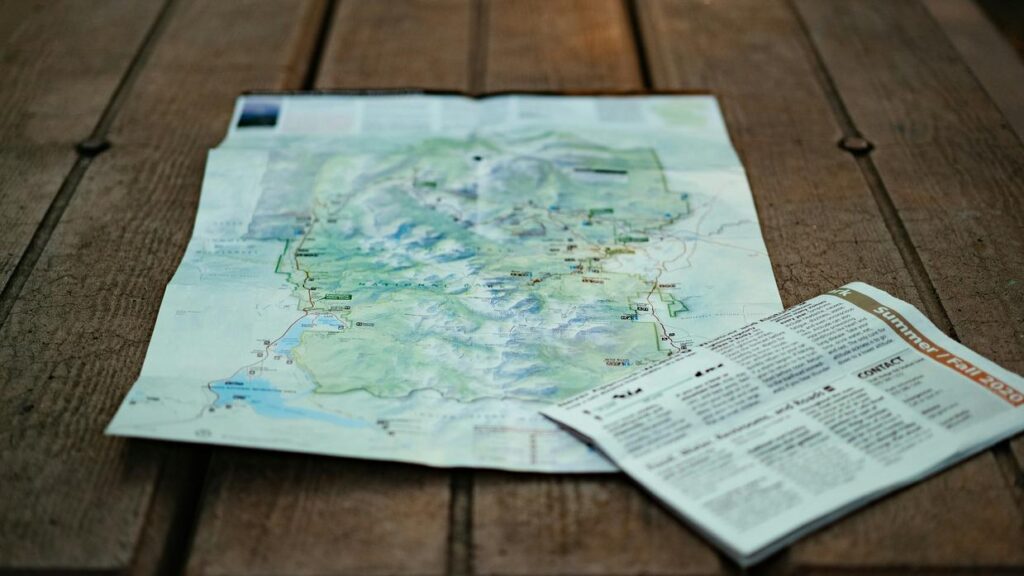
Physical maps do the opposite. A good topographic map or road atlas shows you everything at once. You see how the highway system works. Where the mountains are. Which towns actually matter.
Tourist handouts might look basic but they often mark things that apps miss.
And yeah, they work when your battery dies at 3%.
Most travel advice pushes you toward one or the other. Digital natives say paper is dead. Old school travelers say phones make you soft.
Both camps are wrong.
I use Lwmfmaps because I learned this the hard way. The best navigators I know run both systems. Digital for micro decisions. Physical for macro planning.
Your phone handles the last mile. Your paper map handles the strategy.
Here’s how it actually works:
- Before you go anywhere, study a physical map for 10 minutes
- Understand the layout and major routes
- Use digital maps for real-time navigation once you’re moving
- Keep that paper map accessible when service drops
Pro tip: Take a photo of your physical map before you leave. You get a backup without the bulk.
The people who get lost aren’t using the wrong tool. They’re only using one tool when they need two.
Beyond Turn-by-Turn: Mastering Digital Maps for Discovery
Most people open their map app, type in an address, and hit go.
That’s it.
But you’re leaving so much on the table. I’m talking about features that can completely change how you explore a new place.
Unlocking Map Layers
See those little icons in the corner of your map? The ones most people never touch?
Those are layers. And they’re game changers.
Switch to terrain view and suddenly you can spot that ridge trail everyone raves about. You’ll see elevation changes before you commit to a hike that might kick your butt. I use this every time I’m scouting viewpoints because flat maps lie about what’s actually uphill. By utilizing Lwmfmaps for its detailed terrain view, I can confidently identify the challenging ridge trails and steep elevation changes that would otherwise remain hidden on standard flat maps. By utilizing Lwmfmaps for its detailed terrain features, I can confidently plan my hikes, ensuring I tackle the most rewarding trails without underestimating the elevation challenges ahead.
Satellite view shows you the real deal. Is that beach actually sandy or just rocks? How big is the parking lot at that trailhead? You can see it all before you drive an hour out of your way.
Transit layers matter too. They show bus routes and train lines in real time, which beats guessing if public transport actually goes where you need it.
Building Your Custom Adventure Map
Here’s where things get practical.
I save every spot that catches my eye. Coffee shops, viewpoints, that taco stand someone mentioned. Just tap the location and hit save.
But here’s the trick. Create lists. Group saves by neighborhood or by day of your trip. Now you’ve got a visual itinerary that actually makes sense when you’re standing on a street corner trying to figure out what’s nearby.
The Lwmfmaps Map Guide by Lookwhatmomfound breaks down this process in detail if you want to go deeper.
You can share these lists with travel partners too. Everyone stays on the same page without endless group texts.
The Offline Map: Your Digital Lifeline
This one’s non-negotiable.
Download your maps before you leave. I don’t care if you think you’ll have service. You won’t when it matters most.
Open Google Maps and search for your destination city. Tap your profile picture, then select “Offline maps.” Choose “Select your own map” and zoom to cover the area you need. Download it.
Do this on wifi because these files are big.
I learned this the hard way in rural Iceland when my data died and I had no idea where I was. Now I download entire regions before any trip, especially abroad where roaming costs can wreck your budget.
Your phone becomes a real navigation tool instead of an expensive paperweight.
The Art of the Analog: Finding Confidence with a Physical Map
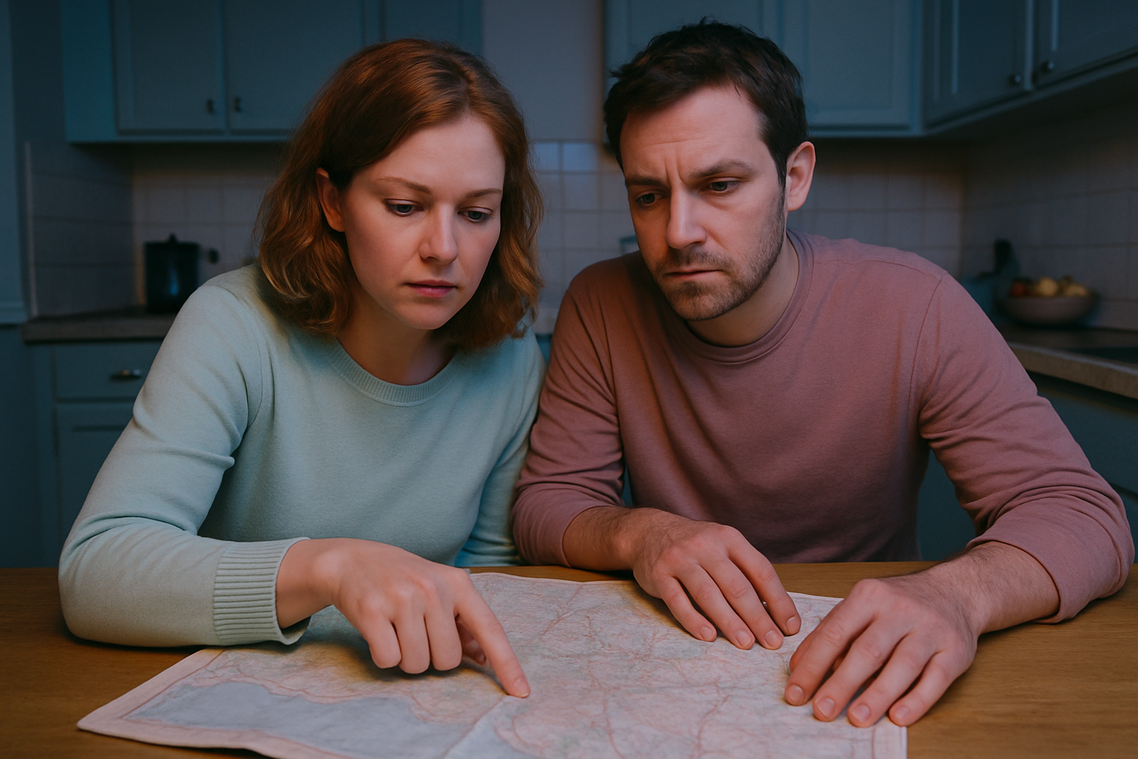
Your phone died halfway up the trail.
Now what?
This is where most travel blogs tell you to download offline maps or buy a backup battery. But nobody talks about the real skill that saves you when tech fails.
Reading an actual paper map.
I know it sounds old school. Some people say physical maps are outdated and that GPS does everything better. They’ll tell you there’s no point learning something your phone can do in seconds.
But here’s what they’re missing.
When you can’t read a map, you’re completely dependent on technology. And technology fails at the worst possible times (usually when you’re miles from civilization with no signal).
Let me show you how to actually use a map guide lwmfmaps from lookwhatmomfound. Not just carry it in your backpack as a backup you never touch.
Decoding the Legend
The legend is your translator. It’s usually tucked in a corner of the map and it tells you what every symbol means.
Trails show up as dotted or dashed lines. Solid lines are roads. The thicker the line, the bigger the road.
Points of interest get their own icons. A tent means camping. A picnic table means you guessed it. Water sources often show up as blue dots or springs.
Natural features have their own language too. Green areas are usually forests or parks. Blue is water. Brown contour lines show elevation (we’ll get to those in a minute). Understanding the natural language of landscapes is essential for any player looking to navigate effectively, and utilizing tools like the Map Infoguide Lwmfmaps can enhance your exploration by clearly marking green forests, blue water bodies, and the intricate brown contours that define elevation changes. To master the art of navigation in the game, players can enhance their understanding of the natural landscape by utilizing the Map Infoguide Lwmfmaps, which decodes the visual cues of green forests, blue waters, and brown elevation lines.
Understanding Scale and Distance
Here’s where most people get lost even with a map in hand.
The scale bar shows you how distance on paper translates to real distance. It might say one inch equals one mile or use a visual bar divided into segments.
Take a piece of paper or use your finger. Mark off the distance between two points on your map. Then compare that to the scale bar.
If you’re walking, figure about 3 miles per hour on flat ground. Driving depends on the road type but the legend will tell you if it’s a highway or dirt road.
This is how you know if that scenic detour is actually doable before lunch or if you’re committing to an all day trek.
Reading Contour Lines
This part separates casual map readers from people who actually know what they’re doing.
Contour lines connect points of equal elevation. When lines are close together, the terrain is steep. When they’re far apart, it’s gentle.
Lines that form a V shape? That’s a valley. The V points uphill toward higher ground.
Circles or ovals mean you’re looking at a hill or peak. The center is the highest point.
Why does this matter? Because that trail that looks short on the map might climb 2000 feet. Your legs will feel the difference even if the distance seems manageable.
I learned this the hard way on a hike outside Yosemite. The map showed a three mile loop. Easy, right? Except I didn’t check the contour lines. Those three miles included a brutal climb that turned my quick morning hike into an afternoon ordeal.
Now I always check elevation before I commit.
The Hybrid Method: A Step-by-Step Navigation Strategy
Most travelers pick a side.
You’re either a physical map person or you’re glued to your phone. The old school folks swear by paper. The tech crowd won’t touch anything that doesn’t have GPS.
But here’s what I’ve learned after years of getting lost (and found) in unfamiliar places.
Both groups are missing out.
Step 1: Macro-Planning (The Night Before)
Lay out the physical map. Get a feel for the entire area, circle key zones, and draw potential routes.
This builds a mental model of your destination. You start to see how neighborhoods connect and where things actually are in relation to each other.
Your phone can’t give you that bird’s eye view. Not in a way that sticks.
Step 2: Micro-Plotting (The Morning Of)
Use your digital map infoguide Lwmfmaps to save the specific addresses from your physical map plan.
Check opening times. Read recent reviews. Download the entire area for offline use.
This is where digital wins. Real-time information beats a printed guide every single time.
Step 3: In-the-Field Execution
Navigate using your phone for specific turn-by-turn directions.
But here’s the key part. Pull out the physical map during a coffee break or at a viewpoint to re-orient yourself with the bigger picture.
You’ll spot nearby opportunities you missed. That side street that connects two areas you wanted to visit. The park that’s actually a five-minute walk from where you are. By utilizing the Lwmfmaps Map Guide by Lookwhatmomfound, you’ll uncover hidden gems like that charming side street connecting two sought-after areas and discover the nearby park that’s just a five-minute stroll away from your current location. By leveraging the Lwmfmaps Map Guide by Lookwhatmomfound, you’ll not only navigate familiar terrain but also discover the enchanting side streets and hidden parks that enrich your gaming experience.
The hybrid approach isn’t about using both tools equally. It’s about using each one where it works best.
Navigate with Confidence and Curiosity
You now have the complete framework for navigating any destination.
I’ve shown you how to blend modern tech with timeless exploration skills. The kind that actually work when you’re standing on an unfamiliar street corner.
You came here because you were tired of mindlessly following GPS. Missing the good stuff because your phone told you to turn left.
That changes now.
You can engage with your surroundings. Find the hidden gems that don’t show up in algorithms. Travel with real confidence instead of hoping your battery lasts.
Here’s what I want you to do: On your next trip (even if it’s just exploring a new neighborhood), try the Hybrid Method. Start small and build your navigation skills one outing at a time.
Check out the map guide lwmfmaps from lookwhatmomfound for destination-specific inspiration and tools that support this approach.
Your next adventure is waiting. You’re ready for it.
 Ask Zayric Tornhaven how they got into cultural insights and experiences and you'll probably get a longer answer than you expected. The short version: Zayric started doing it, got genuinely hooked, and at some point realized they had accumulated enough hard-won knowledge that it would be a waste not to share it. So they started writing.
What makes Zayric worth reading is that they skips the obvious stuff. Nobody needs another surface-level take on Cultural Insights and Experiences, Travel Guides and Tips, Adventure Travel Ideas. What readers actually want is the nuance — the part that only becomes clear after you've made a few mistakes and figured out why. That's the territory Zayric operates in. The writing is direct, occasionally blunt, and always built around what's actually true rather than what sounds good in an article. They has little patience for filler, which means they's pieces tend to be denser with real information than the average post on the same subject.
Zayric doesn't write to impress anyone. They writes because they has things to say that they genuinely thinks people should hear. That motivation — basic as it sounds — produces something noticeably different from content written for clicks or word count. Readers pick up on it. The comments on Zayric's work tend to reflect that.
Ask Zayric Tornhaven how they got into cultural insights and experiences and you'll probably get a longer answer than you expected. The short version: Zayric started doing it, got genuinely hooked, and at some point realized they had accumulated enough hard-won knowledge that it would be a waste not to share it. So they started writing.
What makes Zayric worth reading is that they skips the obvious stuff. Nobody needs another surface-level take on Cultural Insights and Experiences, Travel Guides and Tips, Adventure Travel Ideas. What readers actually want is the nuance — the part that only becomes clear after you've made a few mistakes and figured out why. That's the territory Zayric operates in. The writing is direct, occasionally blunt, and always built around what's actually true rather than what sounds good in an article. They has little patience for filler, which means they's pieces tend to be denser with real information than the average post on the same subject.
Zayric doesn't write to impress anyone. They writes because they has things to say that they genuinely thinks people should hear. That motivation — basic as it sounds — produces something noticeably different from content written for clicks or word count. Readers pick up on it. The comments on Zayric's work tend to reflect that.